Cabin parts lifting points
Cabin unloading
◈ The cabin shell is made of FRP and is prone to problems in long-distance transportation. Before unloading, check the cabin protective cover and cabin shell carefully for damage and rupture.
◈ When the cabin is parked at the site, make sure the cabin support is horizontal. If the cabin is placed on a slope, put a sleeper under the cabin to ensure the level of the cabin.
◈Usually use the main crane or auxiliary crane with sufficient lifting capacity to unload the cabin, and use special spreader or special sling.
◈ Hold the cabin cover during the unloading process to avoid touching the cabin cover and other parts due to the non-vertical shaking of the hook or wind blowing, and restore the original cabin protection cover after the unloading is completed. When assembling and disassembling the spreader, be careful not to touch the parts in the cabin.
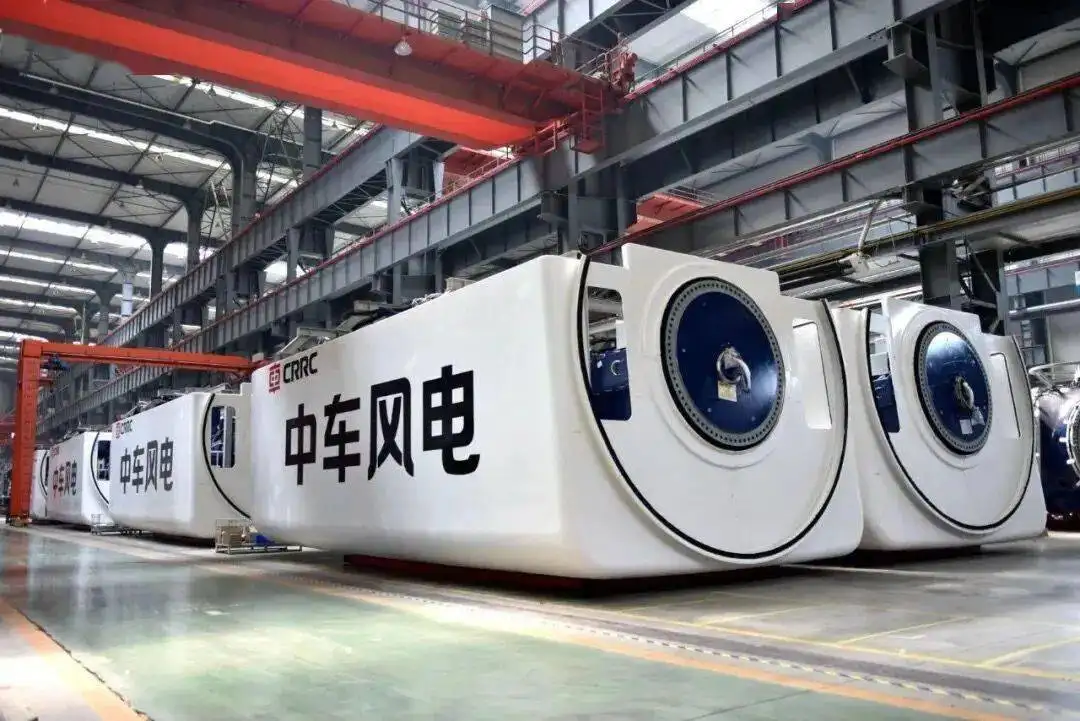
Preparation and lifting process before cabin lifting
Prepare for cabin lifting
◈ Place control cables, cabin ladders, fasteners and other parts and tools into suitable locations inside the cabin;
◈ Install accessories such as anemometer, wind vane, lightning rod, and ambient temperature sensor on the cabin;
◈ Attach two wind ropes to the lower part of the cabin at suitable locations for directional control by ground personnel when the cabin is lifted;
◈ Install the cabin spreader and test lift to confirm the cabin level;
◈ Clean the upper flange surface of the tower;
◈ Remove the cabin support.
Cabin lifting process
◈ Use the main crane machinery to lift the cabin on a single vehicle, and when the cabin leaves the ground about 1.5 meters, suspend the lifting and carry out the following cleaning:
◈ Clean the flange bolt holes connecting the cabin to the top section tower using a tap (over-wire) to remove any rust, burrs, mud, etc. that may exist in the screw buckle;
◈ Clean the flange surface of the cabin connected to the top section tower and the flange surface of the cabin connected to the hub; the flange surface should be smooth and clean without any debris such as antirust wax, paint and welding slag;
◈ Slowly lift the cabin and apply sealant on the flange surface of the top section tower during the cabin ascent;
◈ When the cabin is lifted to the top flange of the tower, make sure the gearbox flange face is aligned with the main wind direction and make a good docking mark;
◈ Position the cabin using the positioning pins and remove the pins after ensuring that all bolts are brought on;
◈ Drop the cabin completely (no strain on the crane, but no unhooking), tighten all bolts, and then remove the spreader;
◈ Install the cabin ladder under the main frame and lower the power cable.
Cabin lifting (tightening bolts)
◈ Because of the uneven weight distribution of each part of the cabin, the method of diagonal tightening cannot be used when tightening the bolts; the parts with less weight distribution should be tightened first, and then the parts with more weight distribution should be tightened to ensure uniform contact between the cabin and the upper tower flange.
◈ The final tightening of the bolt is carried out in two steps, the first step is to tighten the bolt to 70% of the rated torque, and the second step is to tighten to the rated torque. After tightening one bolt in each step, mark it with a marker, and after all bolts are tightened, use a marker to draw a loose mark on the connection between the bolt and the nut.
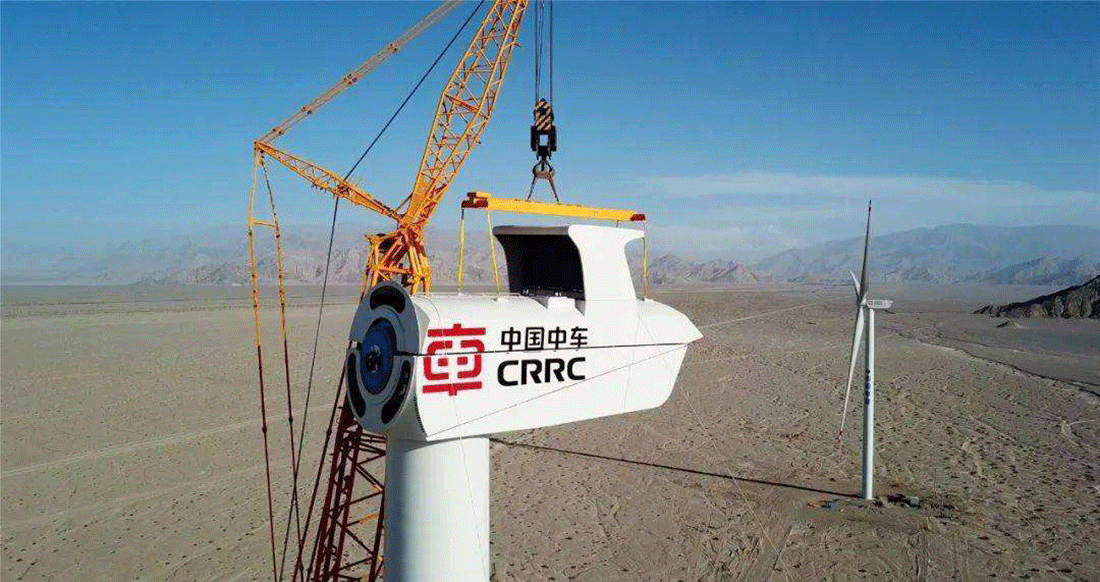
Key points for lifting generator sets and impellers
Hub and blade unloading precautions
Precautions for unloading hubs
◈ Use the auxiliary crane to unload the wheel hub in a single vehicle.
◈ When tethering the hook, remove the deflector top cover, install special lugs inside the hub, and hang the lugs on the crane through the lifting wire rope (or special sling).
◈ After unloading the hub, remove the lugs, re-cover the deflector top cover and seal it with tarpaulin to avoid rain falling into the internal electrical equipment; for long-term storage, make sure not to damage the original packaging of the equipment during the unloading process; check the fixing of the equipment packaging regularly during storage to prevent accidental damage to the equipment caused by improper storage.
Notes on blade unloading
◈ The blade belongs to the extra long parts, single blade wind area is great. Therefore, when unloading the car must be determined according to the site wind speed can be unloaded, if the wind speed is greater than 6 m / s, need to bolt on the blade good cable wind rope, if the wind speed is greater than 10 m / s, it is not allowed to unload the car to avoid accidents.
◈ Use two auxiliary cranes to double lift the blade to unload the car.
◈ Put the bracket and soft material when the blade is on the ground. Construction personnel must confirm the blade in the special bracket fixed situation, if there is loose should be tightened again to ensure safety.
◈ When the blade is parked on site, it should be placed in the direction of the main wind, and the distance between adjacent blades is at least 1 meter, and the blade should be placed at least 10 cm from the ground. To ensure that the three blade direction consistent, and will blade bracket and blade fixed solid and regular inspection, bracket both sides set ground anchor fixed.
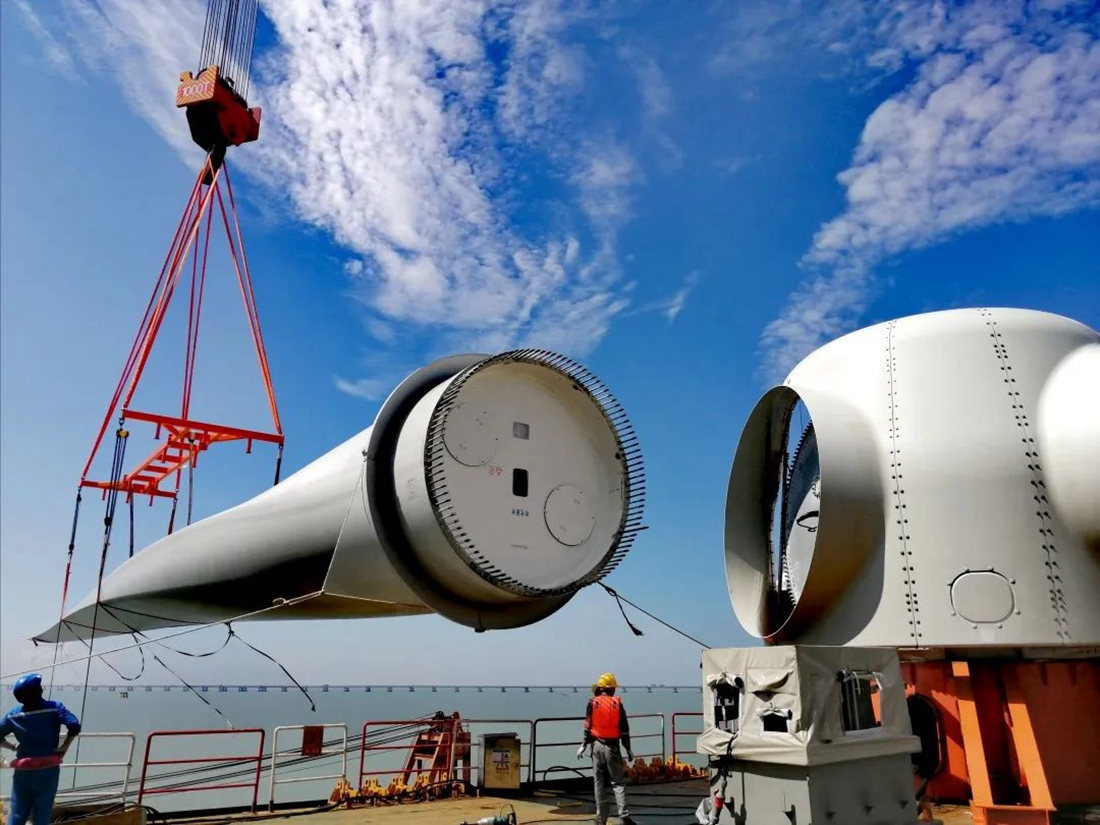
Impeller combination
Impeller combination preparation
◈ The impeller consists of hub and three blades combination, and the rotor in the cabin is driven by the rotational speed controlled by the size of the windward area of the blades.
◈ Pay attention to the solid and flat ground when placing the hub, and consider the extension direction of the 3 blades combination and the lifting direction of the main crane machine in the future.
◈ Install all the bolts of the single blade and hub before the combination of blades.
◈ Clean the flange surface of hub and blade to check if there is any damage.
◈ Prepare items for blade support (such as sandbags, sleepers, etc.), and place the support items in the right position according to the blade direction in advance.
Impeller combination process
◈ Place the hub according to the site terrain and raise the hub to a certain height (according to the manufacturer's instructions and determined with the site terrain).
◈ Lift the blade by double crane and remove the blade support when the blade is at a certain height from the ground.6
◈ Adjust the two cranes to make the blade root slowly close to the hub flange surface. Take the blade 0 point as the reference, adjust the variable pulp bearing 0 degree mark to the appropriate position, make the variable pulp bearing 0 degree mark point and blade 0 degree mark point alignment.
◈ Make the blade bolt set slowly into the pitch bearing mounting hole by crane operation adjustment. Use torque wrench to tighten the bolts, tighten in two steps, the first step tighten to 70% of rated torque, the second step tighten to rated torque.
◈ Make a good support pad for the blade, the support point should be firm and not wear the blade. Connect the blade grounding wire.
◈ Lift the deflector cap by crane, apply sealant on the joint surface of deflector cap and hub, and install the deflector cap on the hub. Finish the installation of the other two blades in the same way.
◈ After the installation of the blade, check that the deviation between the 0 degree mark point of the variable pulp bearing and the 0 degree mark point of the blade should not exceed 2 mm.
Special attention
If the impeller cannot be lifted due to the weather, all blades must be paddled to parallel with the ground (from inside the hub, the blade 180° marker is facing the hub 0 position pointer) to make the impeller windward angle minimum, and must use the rope to fix each blade ends and ground anchor on the ground (can be vehicle as ground anchor), so as not to blow over the impeller in high wind.
Impeller lifting (preparation before installation)
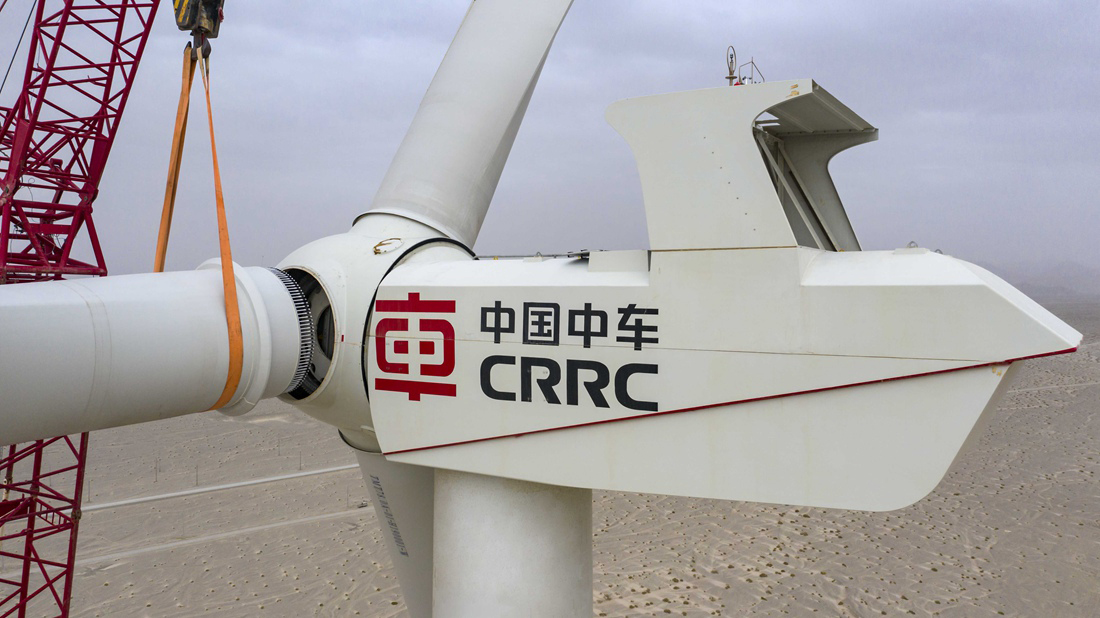
Preparation before impeller lifting
◈ Put a cloth bag on the two blade tips lifted by the main crane and tie the cable wind rope.
◈ Connect the pitch control box to the pitch control cabinet of the blade hoisted by the auxiliary crane, start the external power supply, and pitch the blade so that the leading edge of the blade faces down.
◈ Determine the lifting point. The manufacturer's "fan installation manual" specifies the location of the lifting point, in the specified location tied to the sling. Auxiliary crane hanging point tethered to pay attention to the blade protection, sling connected to a slip rope.
Impeller Lifting Process
◈ Lift the main and auxiliary cranes slowly; when lifting about 1 meter in height, suspend the lifting and complete the following work:
Clean up the bolt holes of the hub and cabin docking with taps (over buckle) to avoid excessive impurities inside the bolt from "biting" the bolt fillet and the internal fillet of the hub when installing the bolt, so that the bolt cannot be tightened and thus damage the hub fillet or the fillet of the bolt.
Install the locating pin and part of the impeller and main shaft connecting bolts.
Clean the flange surface which is connected to the cabin, and clean the anti-rust wax and dust on the flange surface.
◈ The main crane and auxiliary crane cooperate with each other and lift slowly. In the lifting process, the main crane lift speed is slightly faster, at the same time, pay attention to avoid the auxiliary crane blade end landing damage blade.
◈ When the auxiliary crane blade is close to the vertical down, the auxiliary crane completely unload, take off the hook, and use the rope to cooperate with the lifting of the auxiliary crane sling.
◈ Slowly lift the impeller to the installation position by the main crane; adjust the impeller to the correct installation position by the main crane operation.
◈ After the impeller is adjusted to the correct installation position, remove the positioning pins and tighten the bolts.
◈ After making sure all bolts are properly installed in place, use an electric wrench to tighten all bolts and unhook the main crane. Use the hydraulic wrench to tighten the bolts to the specified torque in two stages.
After the impeller is installed, connect the power cable, install the oil-cooled wind turbine cover, fill the water-cooled antifreeze and other parts with lubricating grease, check the electric control cabinet and electrical wiring, clean the cabin, etc. Complete all wind turbine installation tasks.
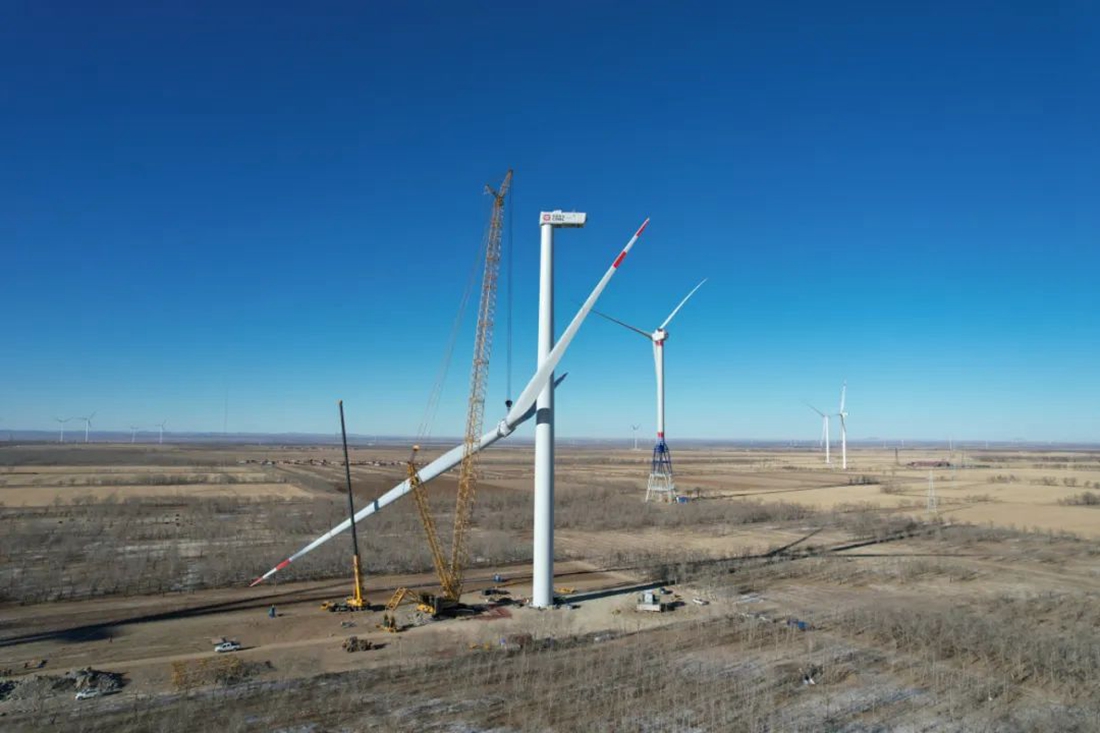
CRRC/BOLAND has experienced construction team, we can provide wind farm proposal making, EPC wind farm and investment operation and maintenance.
बोलैंड रिन्यूएबल एनर्जी कंपनी लिमिटेड एक एकीकृत नई ऊर्जा बिजली कंपनी के रूप में, आपको उच्च गुणवत्ता वाली एकीकृत पवन ऊर्जा, सौर ऊर्जा और ऊर्जा भंडारण प्रणाली समाधान प्रदान करती है। बोलैंड अब CRRC की सहायक कंपनी है, और CRRC के पवन ऊर्जा और सौर ऊर्जा व्यवसाय के विदेशी विस्तार के लिए जिम्मेदार है। हमारे पास अपेक्षाकृत पूर्ण आंतरिक आपूर्ति श्रृंखला, सेवा नेटवर्क और उत्कृष्ट उत्पाद गुणवत्ता और प्रौद्योगिकी है।
बोलैंड पावर प्लांट ईपीसी, पावर प्लांट निवेश और अधिग्रहण प्रदान करें।
कृपया बेझिझक हमसे संपर्क करें यदि आपको किसी तकनीकी सहायता की आवश्यकता है। हमारे सहयोग के लिए चीयर्स!
मेरा ईमेल:marketing@boland-hydroturbine.com
डब्ल्यूए:+8613923745989


